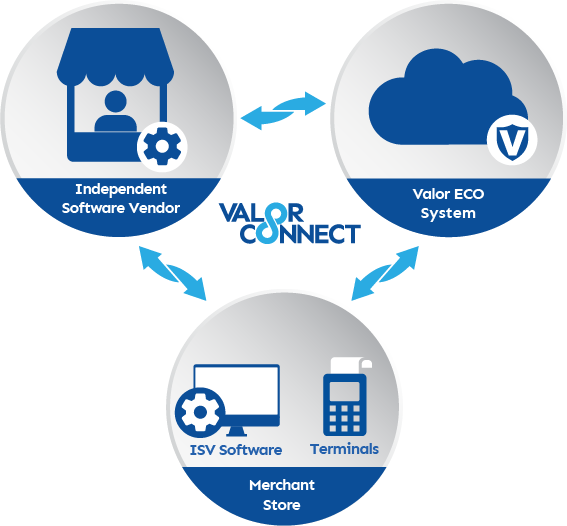
Valor Connect
State of Art Technology
Instant Cloud Integration is just a click away.
Premium Features
- Remote setup.
- Supports wired & wireless connections.
- Compatible with Web-based and standalone applications.
- Quickly find and show the capable devices for integration.
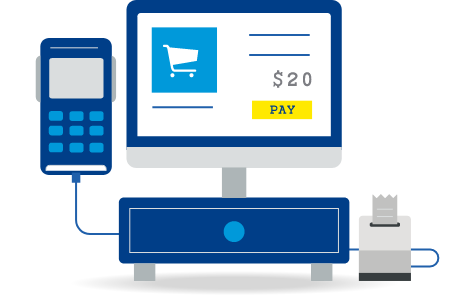
- Client-server allows the following transactions: Sale, Authorization, Return, Void, Tip Adjust, Ticket, Settlement, and Reprint.
- Enables redirection of Transactions from a Virtual Terminal to a Valor Terminal.
- Updates inventory in real-time as sales occur.
- App upgrades and configuration changes can be made directly from the POS.
Note: A Demo Terminal is required to test your API Integration.
Semi Integration
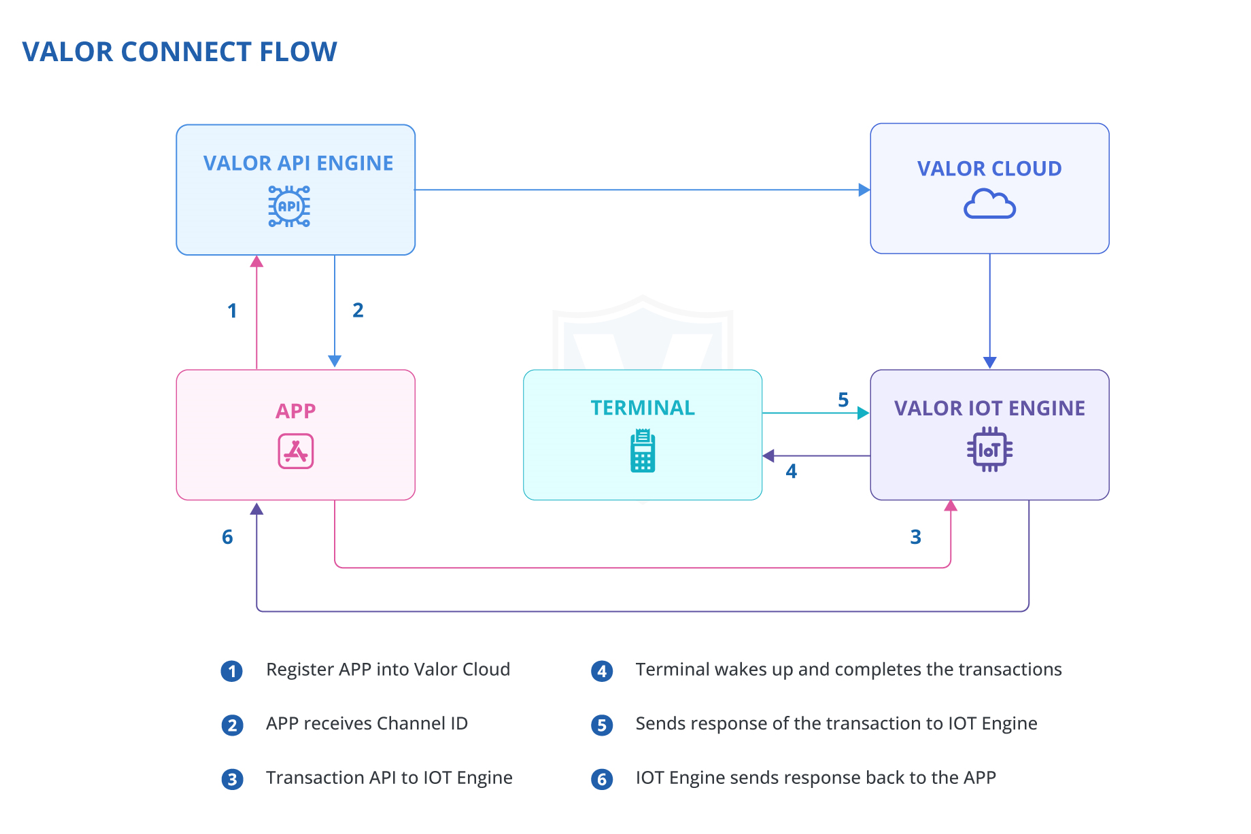
This Specification document covers the list of transactions and API which requires to connect and perform transactions from Valor Terminals. To get the API, please select the download button below.
Contact Us
Related Articles
Frequently Asked Questions
How long does it take for funds to be returned to the Customer’s Account? This is determined by the Card holder’s bank account. How do I Reprint Transaction Receipt? VL100 / VL110 / VP100 = Favorites Button, 1.Reprint Receipt VL500 = Menu button, ...Valor Connect
1. Navigate to My Setting in the Sidebar Menu. 2. Select Valor Connect, you will now have access to the following: API Documentation API Channel ID Security Keys for API Integration Best Practices guides for Integration.Enabling Valor Connect
1. Navigate to My Setting as the Merchant Admin. 2. Select Valor Connect, followed by Activate. Next your ISO will need to enable Valor Connect on your Terminal via Edit Parameters within Device Management.Perform a Valor Connect Transaction
1. Navigate to Virtual Terminal in the Sidebar Menu. 2. Select the checkbox next to Valor Connect. 3. Complete the Transaction details. 4. Select the Terminal that has an Active Valor Connect state in the Terminal drop-down in the top right. 5. ...Perform a Valor Connect Transaction
1. Navigate to Virtual Terminal in the Sidebar Menu. 2. Select the checkbox next to Valor Connect. 3. Complete the Transaction details. 4. Select the Terminal that has an Active Valor Connect state in the Terminal drop-down in the top right. 5. ...